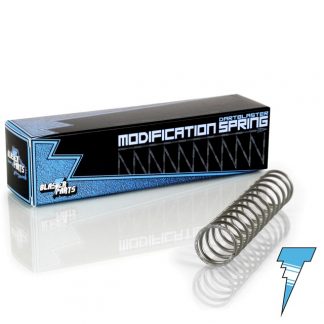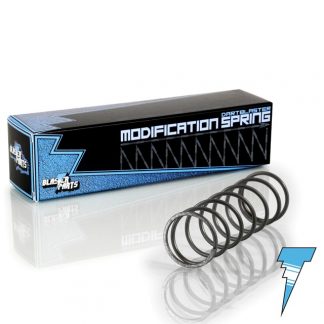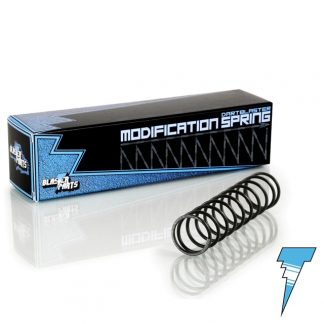

Modification Spring for NERF Elite Surgefire
$10.00
With the Modification Spring you can tickle precious extra metres of range out of the SurgeFire.
- Equivalent mass of spring: approx. 7kg
- Range increase: approx. 70%
- Muzzle velocity increase: approx. 40%
Range upgrade for even more effectiveness
The Nerf N-Strike Elite Surgefire convinces in all Nerf battles: Its compact design, the fast-reload drum with a generous 15 dart capacity and the rapid fire mode make it a very effective blaster. But with a small boost in performance, this foam flinger is of course even more fun.
This is where the Blasterparts Modification Spring comes into play. By changing the spring, the blaster gets that little extra extra in power that can sometimes be crucial. The darts not only fly farther, but also faster – which makes dodging them a lot more difficult.
Installation instructions
When installing, you need to calculate enough time to open blaster as the case is held together by a good amount of screws.
When you finally have the Blaster open, a few more screws are waiting for you, because the mechanics are again secured in a small case. This is annoying, but also good, because not all the small parts jump into your face. Thanks to the “gearbox”, the mechanics are also very clean and reliable – even with stronger springs.
When you open the inner case, you first get an overview of the moving parts. Remember how these parts sit and how the small torsion springs are placed. Best here would be to take detailed photos. Also check how the small parts are arranged in the priming handle: The spacers are located on the metal rod in the handle, the eyelet of the white guide piece to the right of the metal rod.
To change the spring, all you have to do is loosen the screw that connects the plunger to the white priming bar. Then you slide the priming rod backwards to have room to twist the spring out of the air cylinder. Now you can install the Modification Spring. Make sure that the teeth of the piston point in the right direction at the end.
Optionally, you can now remove some locks. The lock in the upper part of the barrel the flap on the top right flap top can be left out. After you have closed the gearbox, you can put some screws in important areas to and then do some test shots before putting in the rest of the screws. Have fun with the power upgrade!
Note: Blasterparts modification products are not toys. Not suitable for children! The installation of the mod kit causes a significant increase in performance. When playing with other people appropriate eye-protection-goggles should be worn as a precaution. Do not aim at face or eyes of other people.
1 in stock
Product Info and some images courtesy of BlasterParts.
Claims of blaster performance are made by blasterparts.com and have not been tested or verified by ContainmentCrew.
Modification of dart blasters is not supported by the original manufacturer and done at your own risk.